
- Wednesday 05 June 2019
- 0 Comments
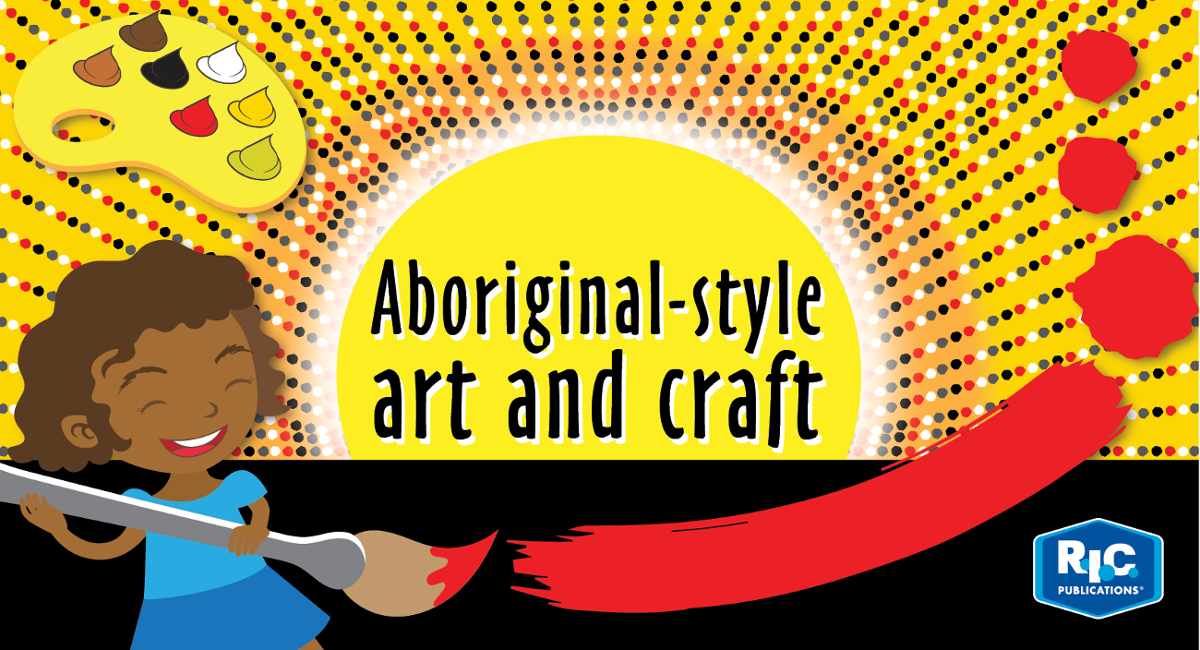
Earthy paint colours, patterns and textures indicative of Australian Aboriginal and Torres Strait Islander culture can be employed in many types of art and craft work to consolidate teaching and learning of Indigenous culture. These art and craft works vary from very simple cut-and-paste activities to more intricate multi-step activities.

Colours and patterns
(Suitable for Foundation to Year 3)
PROVIDE
- squares of coloured paper—orange, yellow, red and white; scissors; glue; A4 sheet of black cardboard for the background
MAKING
- Ask the students to roll each square of coloured paper into a tube and press it flat firmly.
- With scissors, cut zig zag, heart, diamond or other continuous chains of different widths. *Alternatively, use the same method for making fan-folded dolls joined together; create other patterns.
- Arrange the chains on the black background (some may overlap) and when satisfied, glue in place, ensuring that all edges lie flat. (Some black may be visible between the chains to add contrast.)
RESPONDING
- Discuss other methods of using earthy colours and paper cutting to create other artworks.
*This method of paper cutting is explained in Awesome art and craft Book 2 by Miya Maeda.

My dilly bag
(Suitable for Foundation and Year 1)
PROVIDE
- two small paper plates; the edged border cut from half of another paper plate; paint; brushes; stapler; strong cardboard strips to print on paper plate, or hessian—whatever printing or painting method produces a basket or woven effect
MAKING
- Have the students paint or print one side of each of the whole paper plates and the border section which will be used for the handle. Allow to dry.
- Fold the paper plates in half so the unpainted section of each is in the middle. Press firmly.
- Insert one corner of each folded paper plate inside the other so they form a 45º angle and staple. Open out tops of basket pieces and staple edges where the two sides overlap.
- Staple handle to one side of the dilly bag.
- Ask the students to draw and cut out colourful pictures of Aboriginal bush tucker to place in the dilly bag.
RESPONDING
- Show internet images of different dilly bags and discuss whether works of art can serve a practical purpose.

Patterns and pictures
(Suitable for Years 2 and 3)
PROVIDE
- A4 sheets of paper which the students have previously painted and patterned using craft sticks, cardboard strips, fingers or other implements (The colours these are painted should be considered carefully by the student and/or teacher prior to the students using them to cut out shapes for their landscape painting.); scissors; glue; A3 white art paper on which to glue the picture; pencils; additional plain-coloured A4 paper to contrast with the patterned shapes; extra A4 scrap paper
MAKING
- The students sketch an approximate design for a landscape picture on scrap paper.
- The students draw (or cut freehand) sections of their landscape painting using suitable patterned paper and glue it onto an A3 sheet of paper. Students continue to build up their picture by cutting and gluing additional shapes (or contrasting plain paper) to complete their picture.
RESPONDING
- When completed, students identify how and why they used particular shapes, colour or texture in their artwork.

Colours, animals and tools
(Suitable for Foundation to Year 3)
PROVIDE
- A3 white paper divided into six equal squares*, coloured squares (cut to size), squares of black paper, scissors, glue, books or internet reference (optional)
MAKING
- Ask the students to arrange the coloured squares over the sections on the A3 paper and glue in place.
- While the coloured squares are drying, have the students draw the outline of six different objects relating to Aboriginal culture on the black paper and cut them out. (Books and internet references may be used.)
- Glue one object on each coloured square to represent their knowledge of Indigenous culture.
RESPONDING
- The students can view each others artworks and decide what object is being represented by the black outlines. Are they clear enough?
- Discuss other ways to use Aboriginal colours and representations to create artworks.
*To make this activity more difficult for older students, ask the students to rule or fold A3 paper or cardboard into six even squares (a little maths integration) and carefully paint each section in different Aboriginal colours. To ensure colours are clean and crisp, students can paint one middle section in the top half and two squares at the sides in the bottom half, and allow them to dry before painting+ the remaining squares.
Australian Curriculum The Arts links (Visual Arts)
Content description
Explore ideas, experiences, observations and imagination to create visual artworks and design, including considering artworks by Aboriginal and Torres Strait Islander artists (ACAVAM106) ![]()
Use and experiment with different materials, techniques, technologies and processes to make artworks (ACAVAM107) ![]()
Create and display artworks to communicate ideas to an audience (ACAVAM108) ![]()
Respond to visual artworks and consider where and why people make visual artworks, starting with visual artworks from Australia, including visual artworks of Aboriginal and Torres Strait Islander peoples (ACAVAR109) ![]()
Check out our range of ACAVAM linked curriculum resources here:
search/?q=acavam
Download and save this blog as a PDF here.